Thursday, August 10, 2023

More beanding of the rear bow - 8 hours

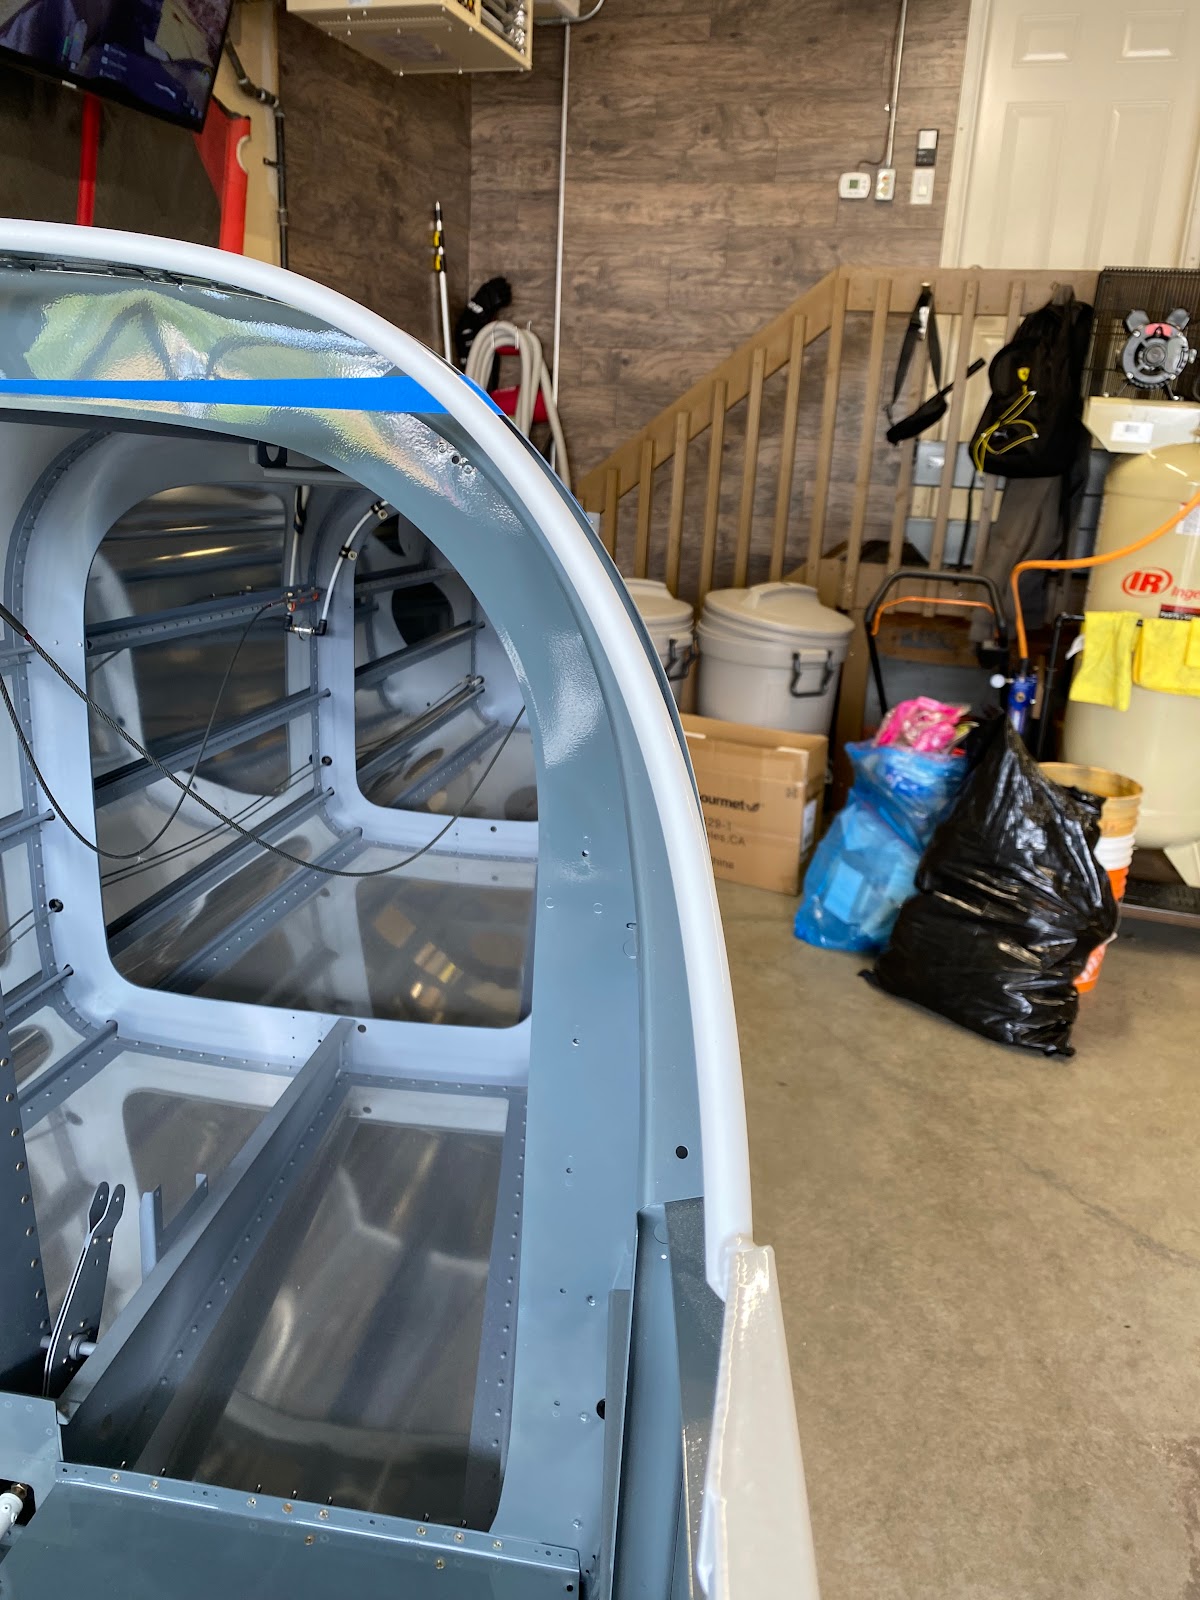
 Realizing that a mirrored template was not the option to go with, I decided to make a template based on the whole turtle deck. No question this is the most accurate template I can come up with I decided to work with this.


 Again, I spent a whole bunch of time bending using my feet and legs. Spent a crazy about of time on this with little gains. Sometimes I was going backward, sometimes forwards. Just a very frustrating process all round. I think I need some help with this, I'm going to reach out to some local builders who have experience and see what their suggestions are.

A key item worth noting. It is critical when bending the rear bow, that you are able to check that the canopy frame sits flat on a table. When bending the rear bow, you ultimately introduce twist into the frame. By the end of the very long build session I realized that after you bend the rear bow, you also need to twist the whole rear bow and set the frame a flat surface to check level. Its easy to do, just put the forward bow on the ground and step on it. Then twist the whole rear bow clockwise or counter clockwise enough that it will sit flat on a table.

 If you do this, things start fitting well. If you don't twist or check twist....you will get nowhere!   

Tuesday, August 8, 2023

Making a rear bow template - 5.5 hours

 I've reasoned that if the pilot side of the bow is fitting perfect, then all I need to do is make a template from the pilot side and flip it over and it will show me what I need to bend for the co-pilot side.  


I will save you a lot of pain and grief....Don't do this method. It doesn't work as well as you think it world and only makes things worse. Spent about 5 hours messing with the rear bow and was getting nowhere.

Monday, August 7, 2023

Starting to fit the sliding canopy frame - 5 hours

 After some head scratching moments, I figured out one important item that I wished I knew from the beginning. Make sure at least that the forward canopy bow tubes are the same length. Mine were out about 0.158" out of perfectly level. So factoring the width of my pen line, I made some measurements and made a cut reference line with masking tape. Again, I used a hacksaw rather than an angle grinder to cut the tube as I do not want to introduce heat into the metal.


Now that I have the frame trimed, the fit is much better.

A little work with the 3/4" conduit bender and I have the front bow following the curve of the roll bar.


 P.S. If the one side of the canopy bow is sitting high, you want to introduce a bit of bend on the opposite side. Putting bend on the side that's high only makes it worse.

Now, I need to start work on the Aft canopy bow. I can see the pilot side fits well, however the co-pilot side needs work to fit correctly.


Sunday, August 6, 2023

Installed the WD-641 roll bar - 3 hours

 Time to install the WD-641 roll bar permanently. Now that the paint of the front deck is fairly dry and cured, I am ready to work in this area. One thing that I researched this morning was if other builders trimmed the excess steel on the mounting plate. Nobody seems to talk much about it, but from what I can tell in all of the pictures I have, everyone has trimmed this down.


 I placed the roll bar on the fuse and drew my reference lines. Yup, I have 2x edge distance so I am good to trim according to my lines. Obviously an angle grinder is a bad idea as the heat wrecks the powder coat and I’m sure will mess with the welds. So I went to town with the hacksaw.


 A final finish on the sander station and the trim was a success. I primed the bare cut steel and touched up with white colour matched paint. Did I mention how nice it was to have my 3D printed wrenched for the rear AN4 bolts?!?!


 Next, I riveted the F-793 vent brackets to the fuselage 


 I am now ready to start in on the canopy…… I hope. I've temporarily fit the canopy frame on the fuselage and I can see that I have to make adjustments to the forward bow of the canopy frame to match the lines of the roll bar. You can see how the bow on the canopy frame kicks out on the right side (when looking from the front).


Saturday, August 5, 2023

Painting the forward canopy deck - 5.5 hours

 Well since the weather is nice, today is a painting day. Before I can bolt the roll bar on permanently, I need to paint the forward Canopy decks.

This actually turned out to be much more of a pain than I was hoping it would be. I prepped everything nicely and gave a final light wipe with acetone. Then I sprayed it with one stage final coat. It was perfect! Then I noticed a fish eye on one of the rivet spots. I’m sure I could have left it as-is, but I chose to whip the paint off, clean, re-prep the area, and re-spray. This takes about an hour or two in all…so progress was slow.  Crap, I got a run in the paint!!! Wipe it off…..redo all over again. The third spray was good (not prefect) but good. 


In the mean time, I noticed that my paint on the forward center cover (F-982E access plate) was failing. The paint must not have mixed correctly when I first sprayed it last year?. Well.. fortunately the paint wiped off with heavy doses of acetone. The epoxy primer underneath is not phased by the acetone, do I didn’t have to really re-prime, I just had to work at getting all of the old paint off, prep and re-spray it. This time the paint was perfectly mixed. (I looked over all other interior pieces and everything was fine, this part was the only piece that had signs of paint failure).


While still on a roll with the priming and painting, I decided to give the NACA ducts some attention. I’m sure that I could have primed them just fine well after they were installed, but why not give them a good once over now while they are accessible. A gave a light wipe down of the plastic with acetone. Being very careful with the acetone as it melts this plastic. 


Friday, August 4, 2023

More riveting of the the Fwd Fuselage Ribs - 3 hours

For now, l clecloed the junk F-7105B-L rib into place as well as all the other F-7108 and F-7107 ribs.


 I managed to rivet both remaining ribs to the firewall. For the next step I choose to rivet the F-7108B angle to the F-7108A rib. The plans have you do this riveting prior to setting the rib into place, but I chose to do it this way instead as everyone complains that the riveted assembly is very difficult to get the F-7105A center sub panel set into place after. 

Space for the rivet gun was tight, but using the smallest rivet set I had allowed me just enough room to buck these perfectly. I did most of the rivets, leaving the last AN4 rivet open. I did this to allow me to easily slip the roll bar down tube into place. If I rivet it now I fear I am really going to have issues getting that down tube in and out. I’ll save it for later.


Thursday, August 3, 2023

Riveting the Fwd Fuselage Ribs to the Firewall - 1.5 hours

 Well, got news back from Van's that a new F-7105B-L sub panel is out of stock and is going to be approximately Sept 18th for it to ship. Totally understandable as Van's has lots of issues with their 3rd party suppliers laser cutting process. I imagine they parts stock is suffering everywhere.

Well, Looks like I will just have to build the front deck and fit the sub-panel later when it comes in. I started in by riveting the right F-7108 Fwd Fuselage Rib to the Firewall. It went very well and the rivets sent nicely.